Getting started
A tour of the PhotoFresco editor — the toolbar, options bar, panels and canvas — plus how to open, edit and save your first image.
PhotoFresco is a free, Photoshop-style image editor that runs entirely in your browser. There is nothing to install and no account to create: open photofresco.com/app/, and the editor is ready in seconds. Everything — rendering, brushes, filters, file handling — happens on your own machine.
Open the editor
Head to the editor. You'll land on the start screen, where you can:
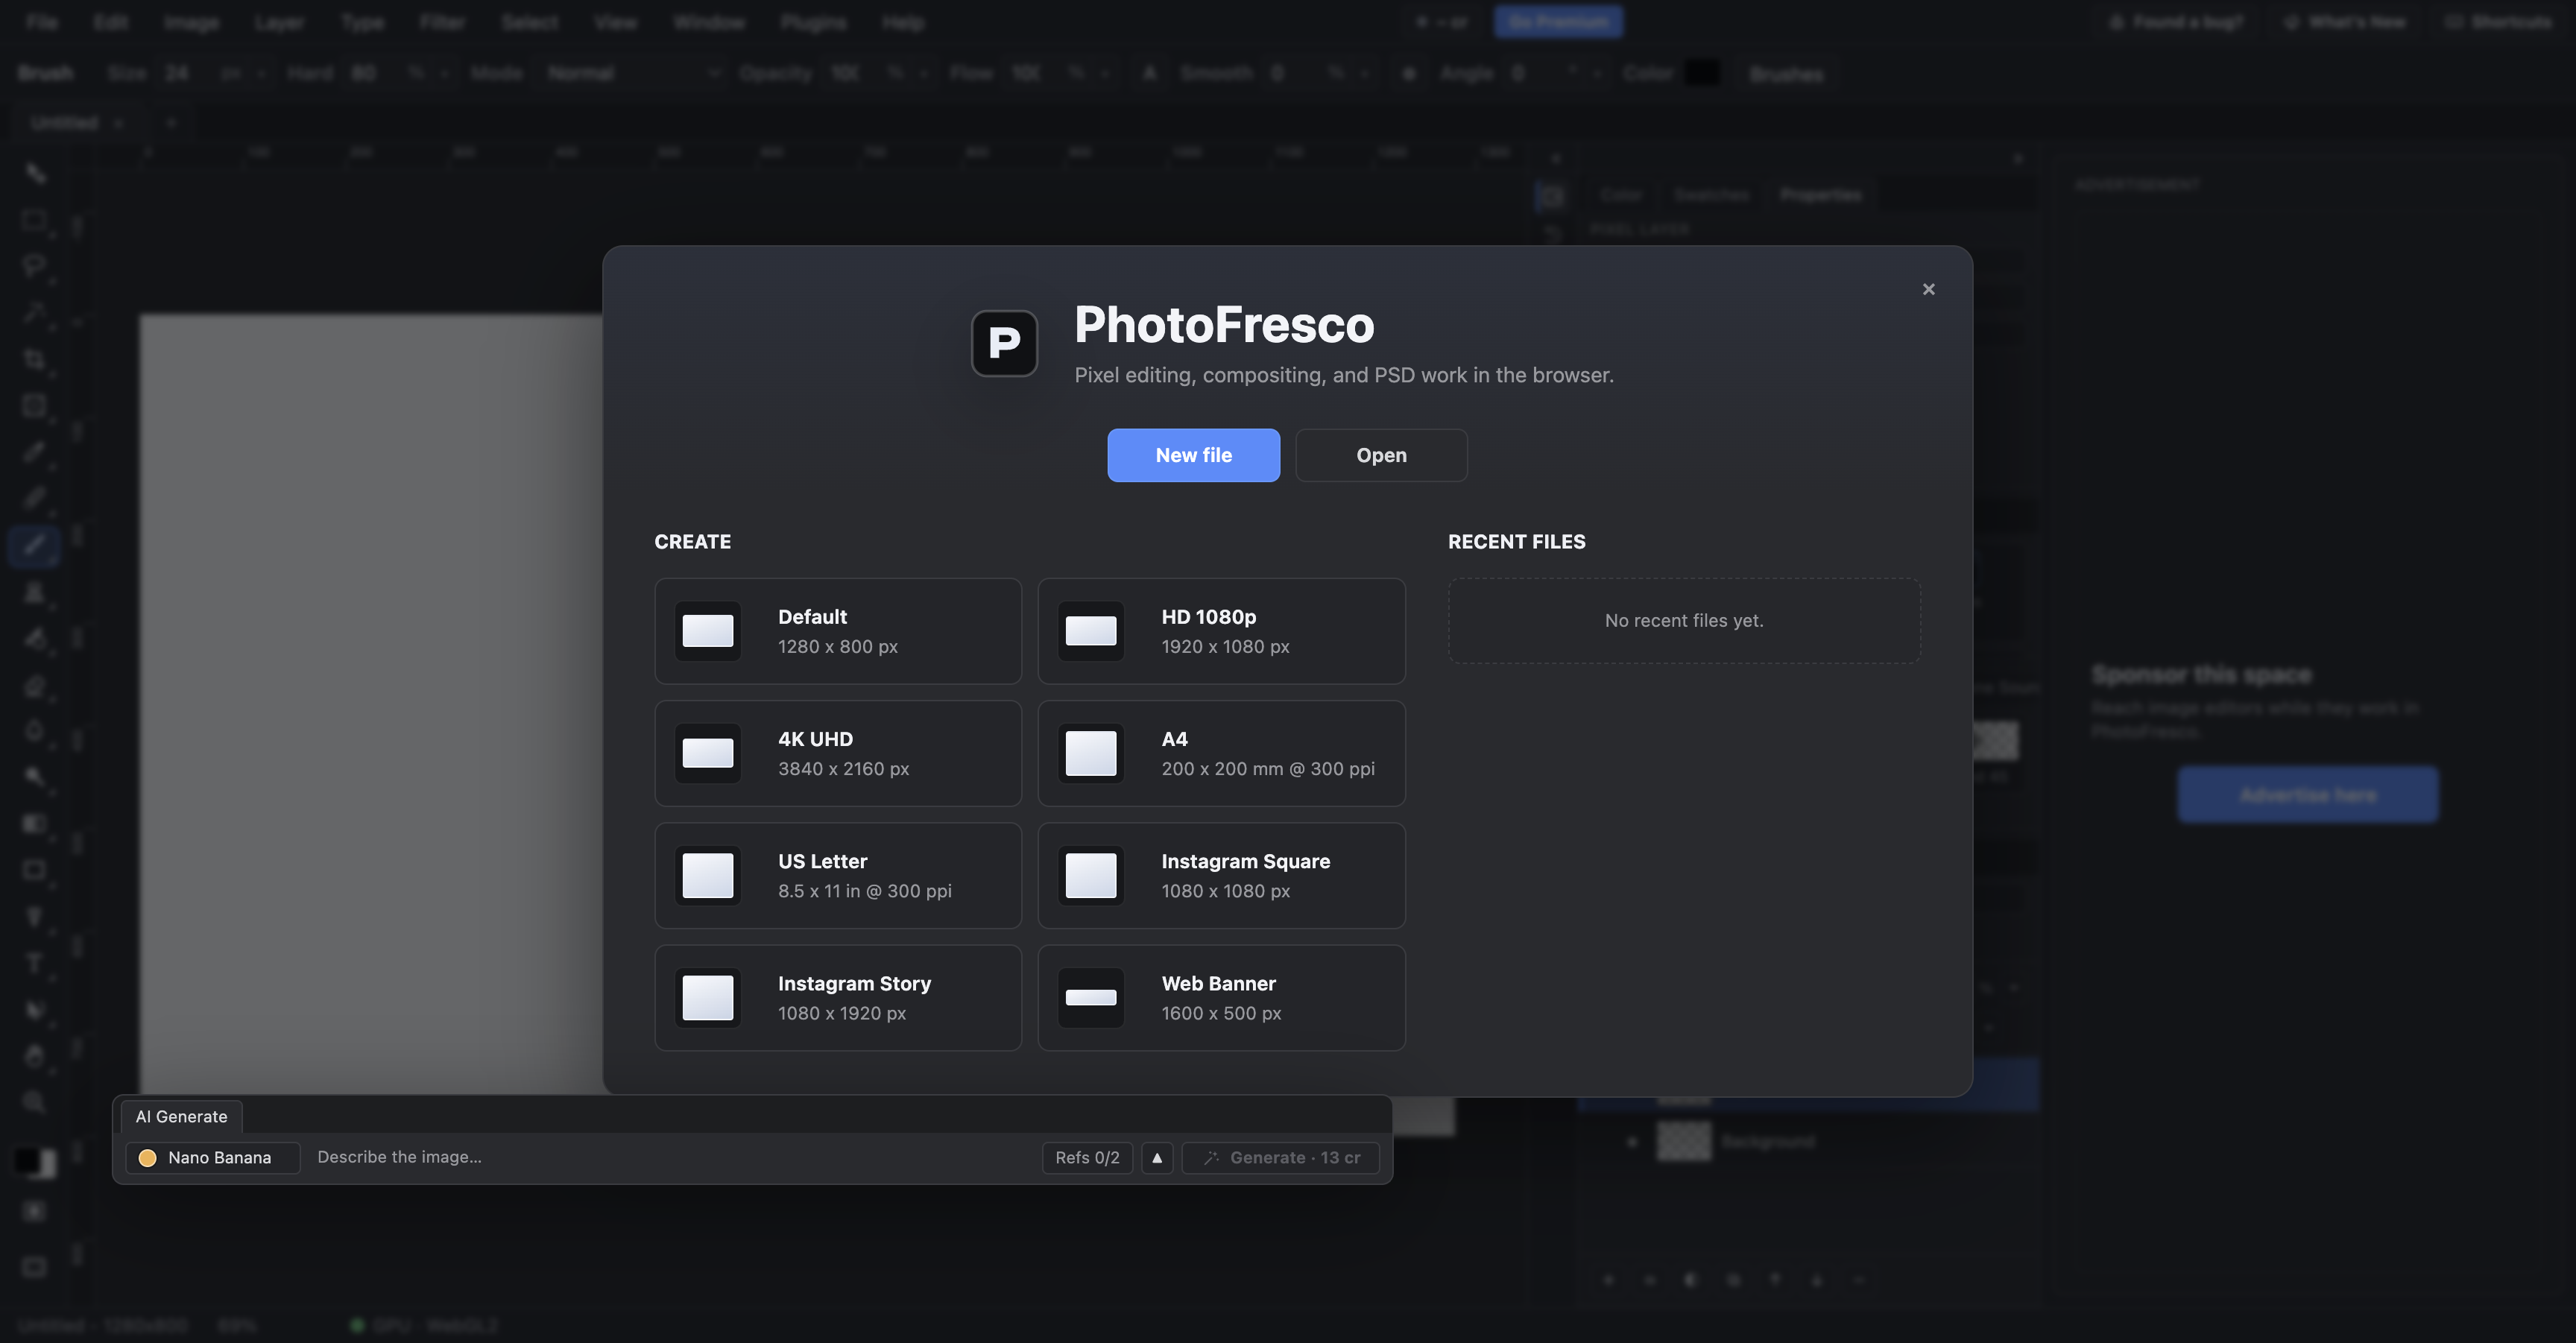
- Create a new document — pick a size and background in the New Document dialog (also
File ▸ Newlater). - Open a file — PSD files and regular images (PNG, JPEG, and other browser-readable formats) via
File ▸ Open. - Reopen recent work —
File ▸ Open Recentremembers what you had open. - Browse My Documents — a built-in library (
File ▸ My Documents…) that stores documents in your browser, so they survive closing the tab.
Opening a file is a local read: the image goes from your disk into the tab, not to a server. See the FAQ for the details of the privacy model.
The interface at a glance
The layout mirrors what you know from desktop editors:
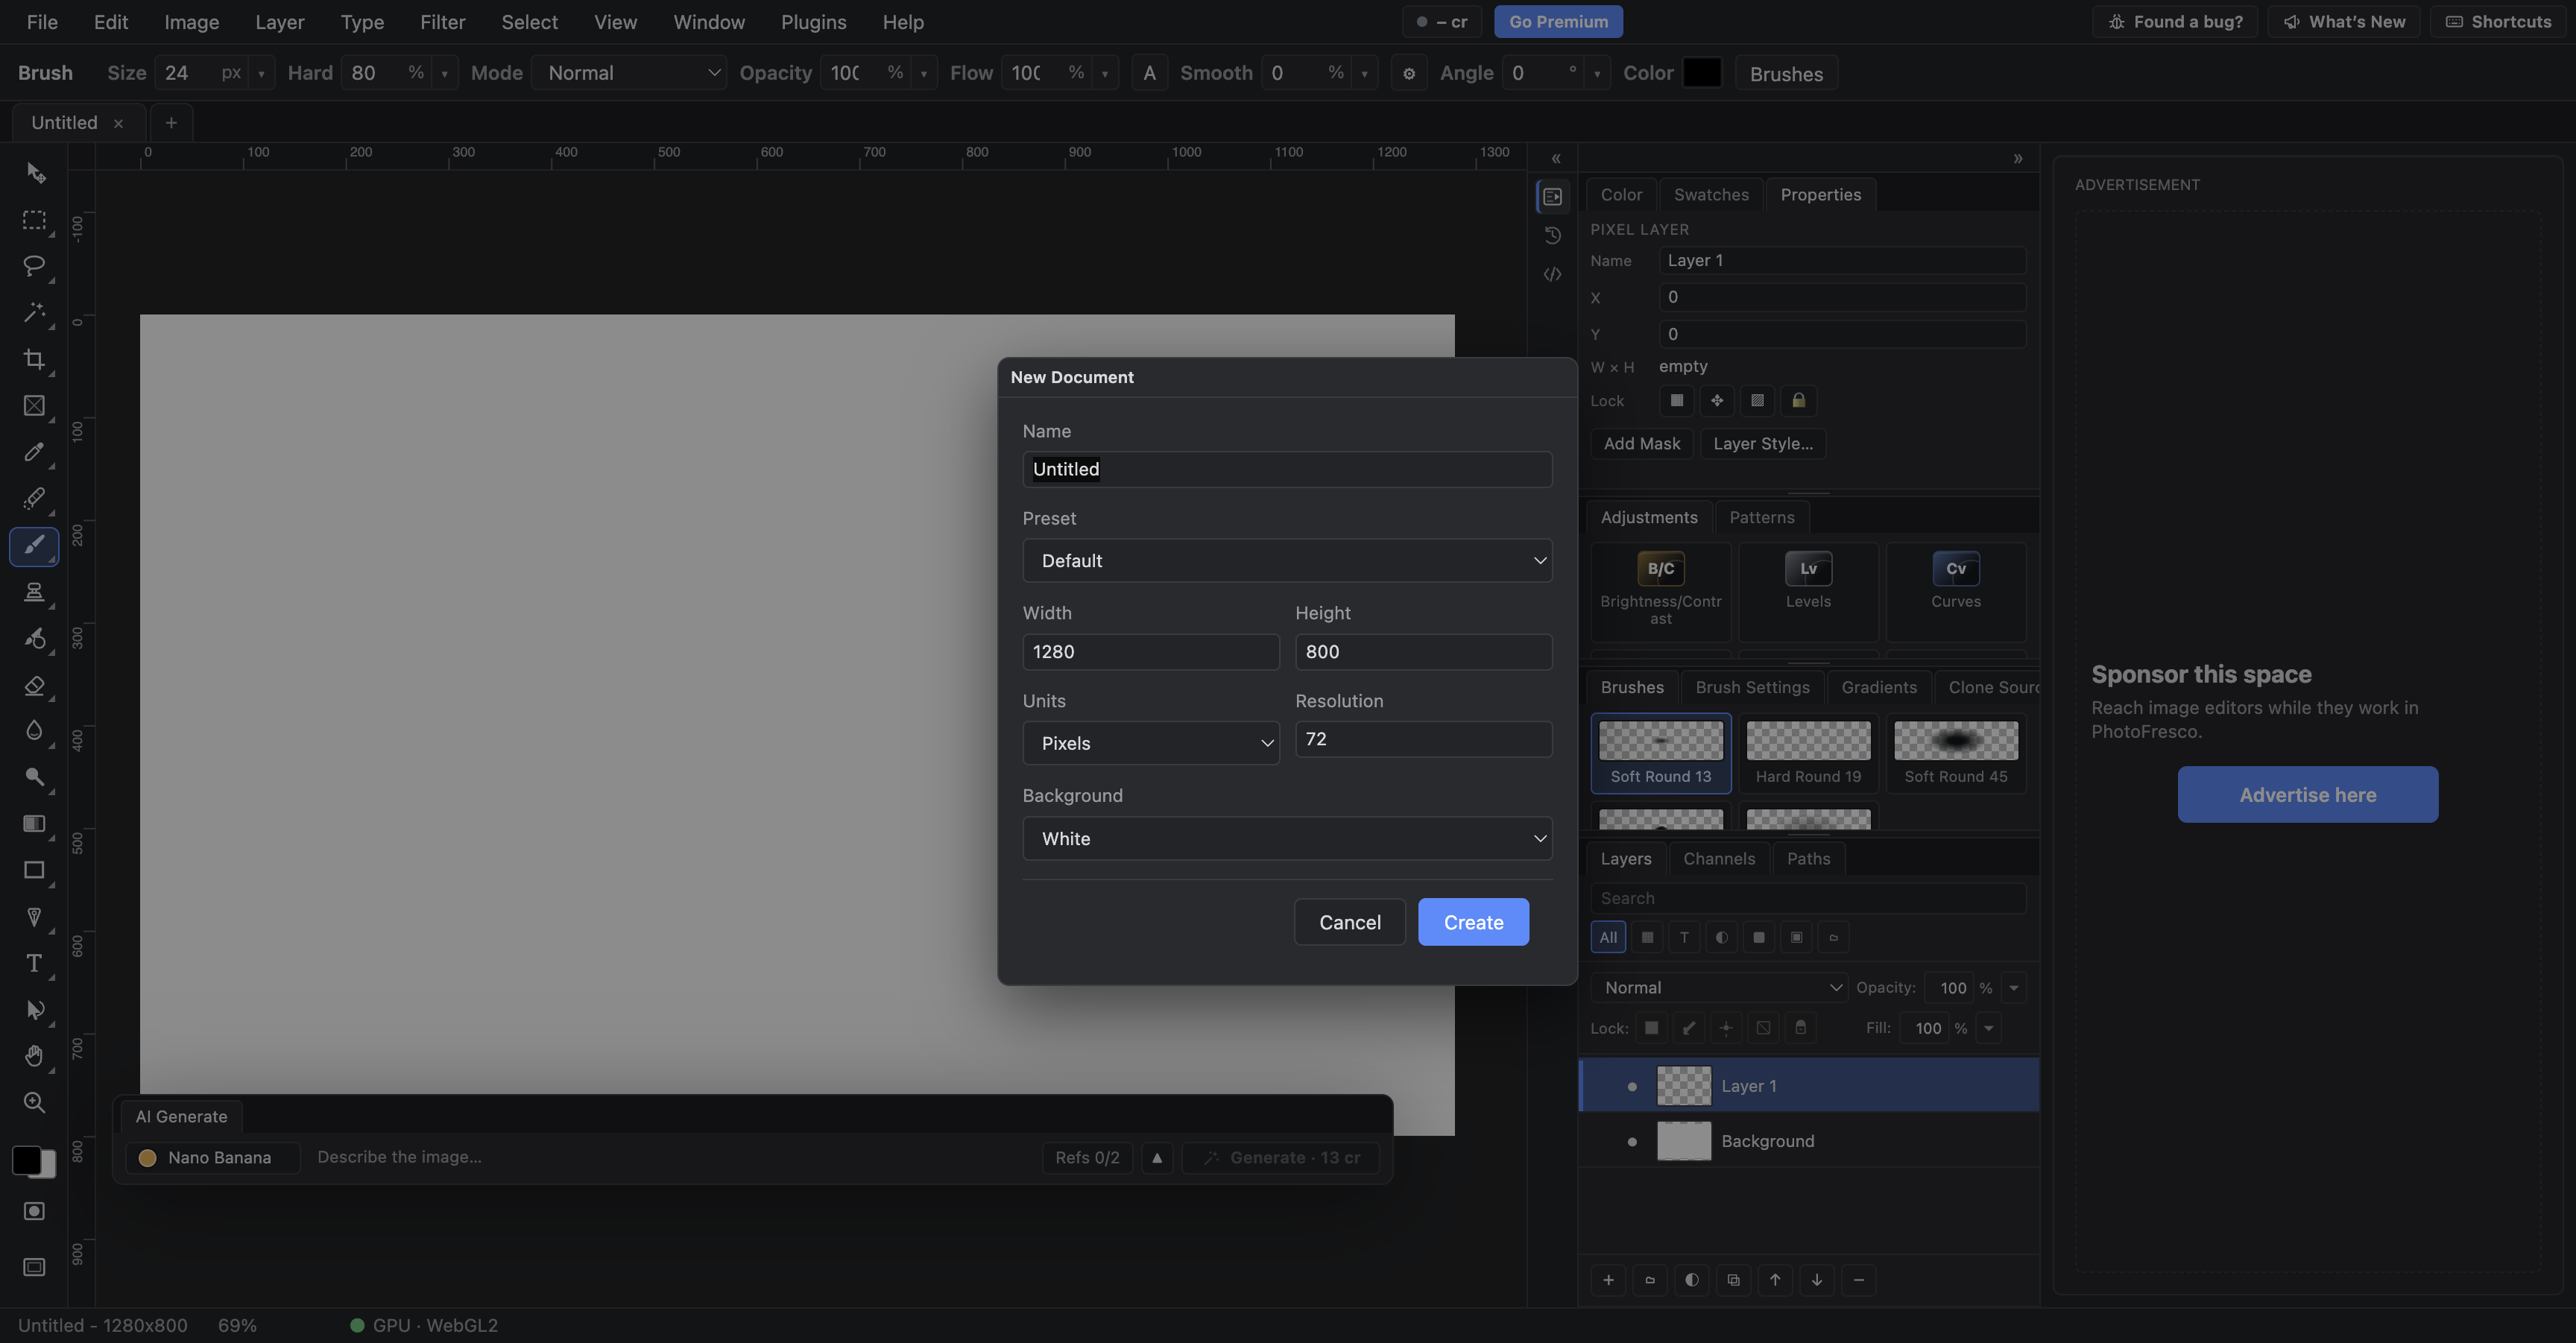
- Menu bar (top) — File, Edit, Image, Layer, Type, Filter, Select, View, Window, Plugins and Help. If you're hunting for a command, it's here.
- Toolbar (left) — the tools, grouped Photoshop-style. One button per group; press the group's key letter to switch to it, press Shift + the letter to cycle within a group, or long-press / right-click the button for the fly-out list. The foreground/background color chips sit below the tools (
Xswaps them,Dresets to black & white), with the Quick Mask (Q) and screen-mode (F) toggles at the bottom. - Options bar (under the menu) — settings for the active tool: brush size and hardness, selection feather, wand tolerance, type controls, and so on.
- Panels (right) — Layers, Properties, Adjustments, History, Color, Brushes, Channels, Paths, Navigator and more. Toggle any panel from the Window menu; drag tabs to rearrange, or tear a panel out into a floating window.
View ▸ Workspacecan save or reset your arrangement. - Canvas (center) — your document, in tabs when several are open.
View ▸ Arrangeoffers side-by-side layouts. - AI prompt box (bottom) — type a prompt, pick a model, and generated images land in your document as layers. See AI generation & credits.
Your first edit
A quick loop to get a feel for the app:
- Open an image (
File ▸ Open). - Press
Bfor the Brush and paint a stroke — size and hardness live in the options bar,[and]change the size as you work. - Press
Mand drag a rectangular selection, then apply an adjustment —Image ▸ Adjustments ▸ Curvesaffects only the selected area. - Made a mess?
⌘Z / Ctrl+Zundoes; the History panel (Window ▸ History) shows the whole trail — the last 64 steps are kept. - Add a layer in the Layers panel and try a blend mode from its dropdown.
Navigating the canvas
- Zoom —
⌘+ / Ctrl++and⌘− / Ctrl+−,⌘0 / Ctrl+0to fit the document on screen,⌘1 / Ctrl+1for 100%. The Zoom tool isZ. - Pan — hold Space and drag, or use the Hand tool (
H). - Rotate the view — Shift+
Hcycles to Rotate View; double-click its toolbar button to reset. - Rulers, guides and grid —
⌘R / Ctrl+Rtoggles rulers; guides, smart guides, grid and pixel grid live underView ▸ Show, with snapping underView ▸ Snap To.
Saving your work
PhotoFresco's native format is PSD — the same layered format Photoshop uses.
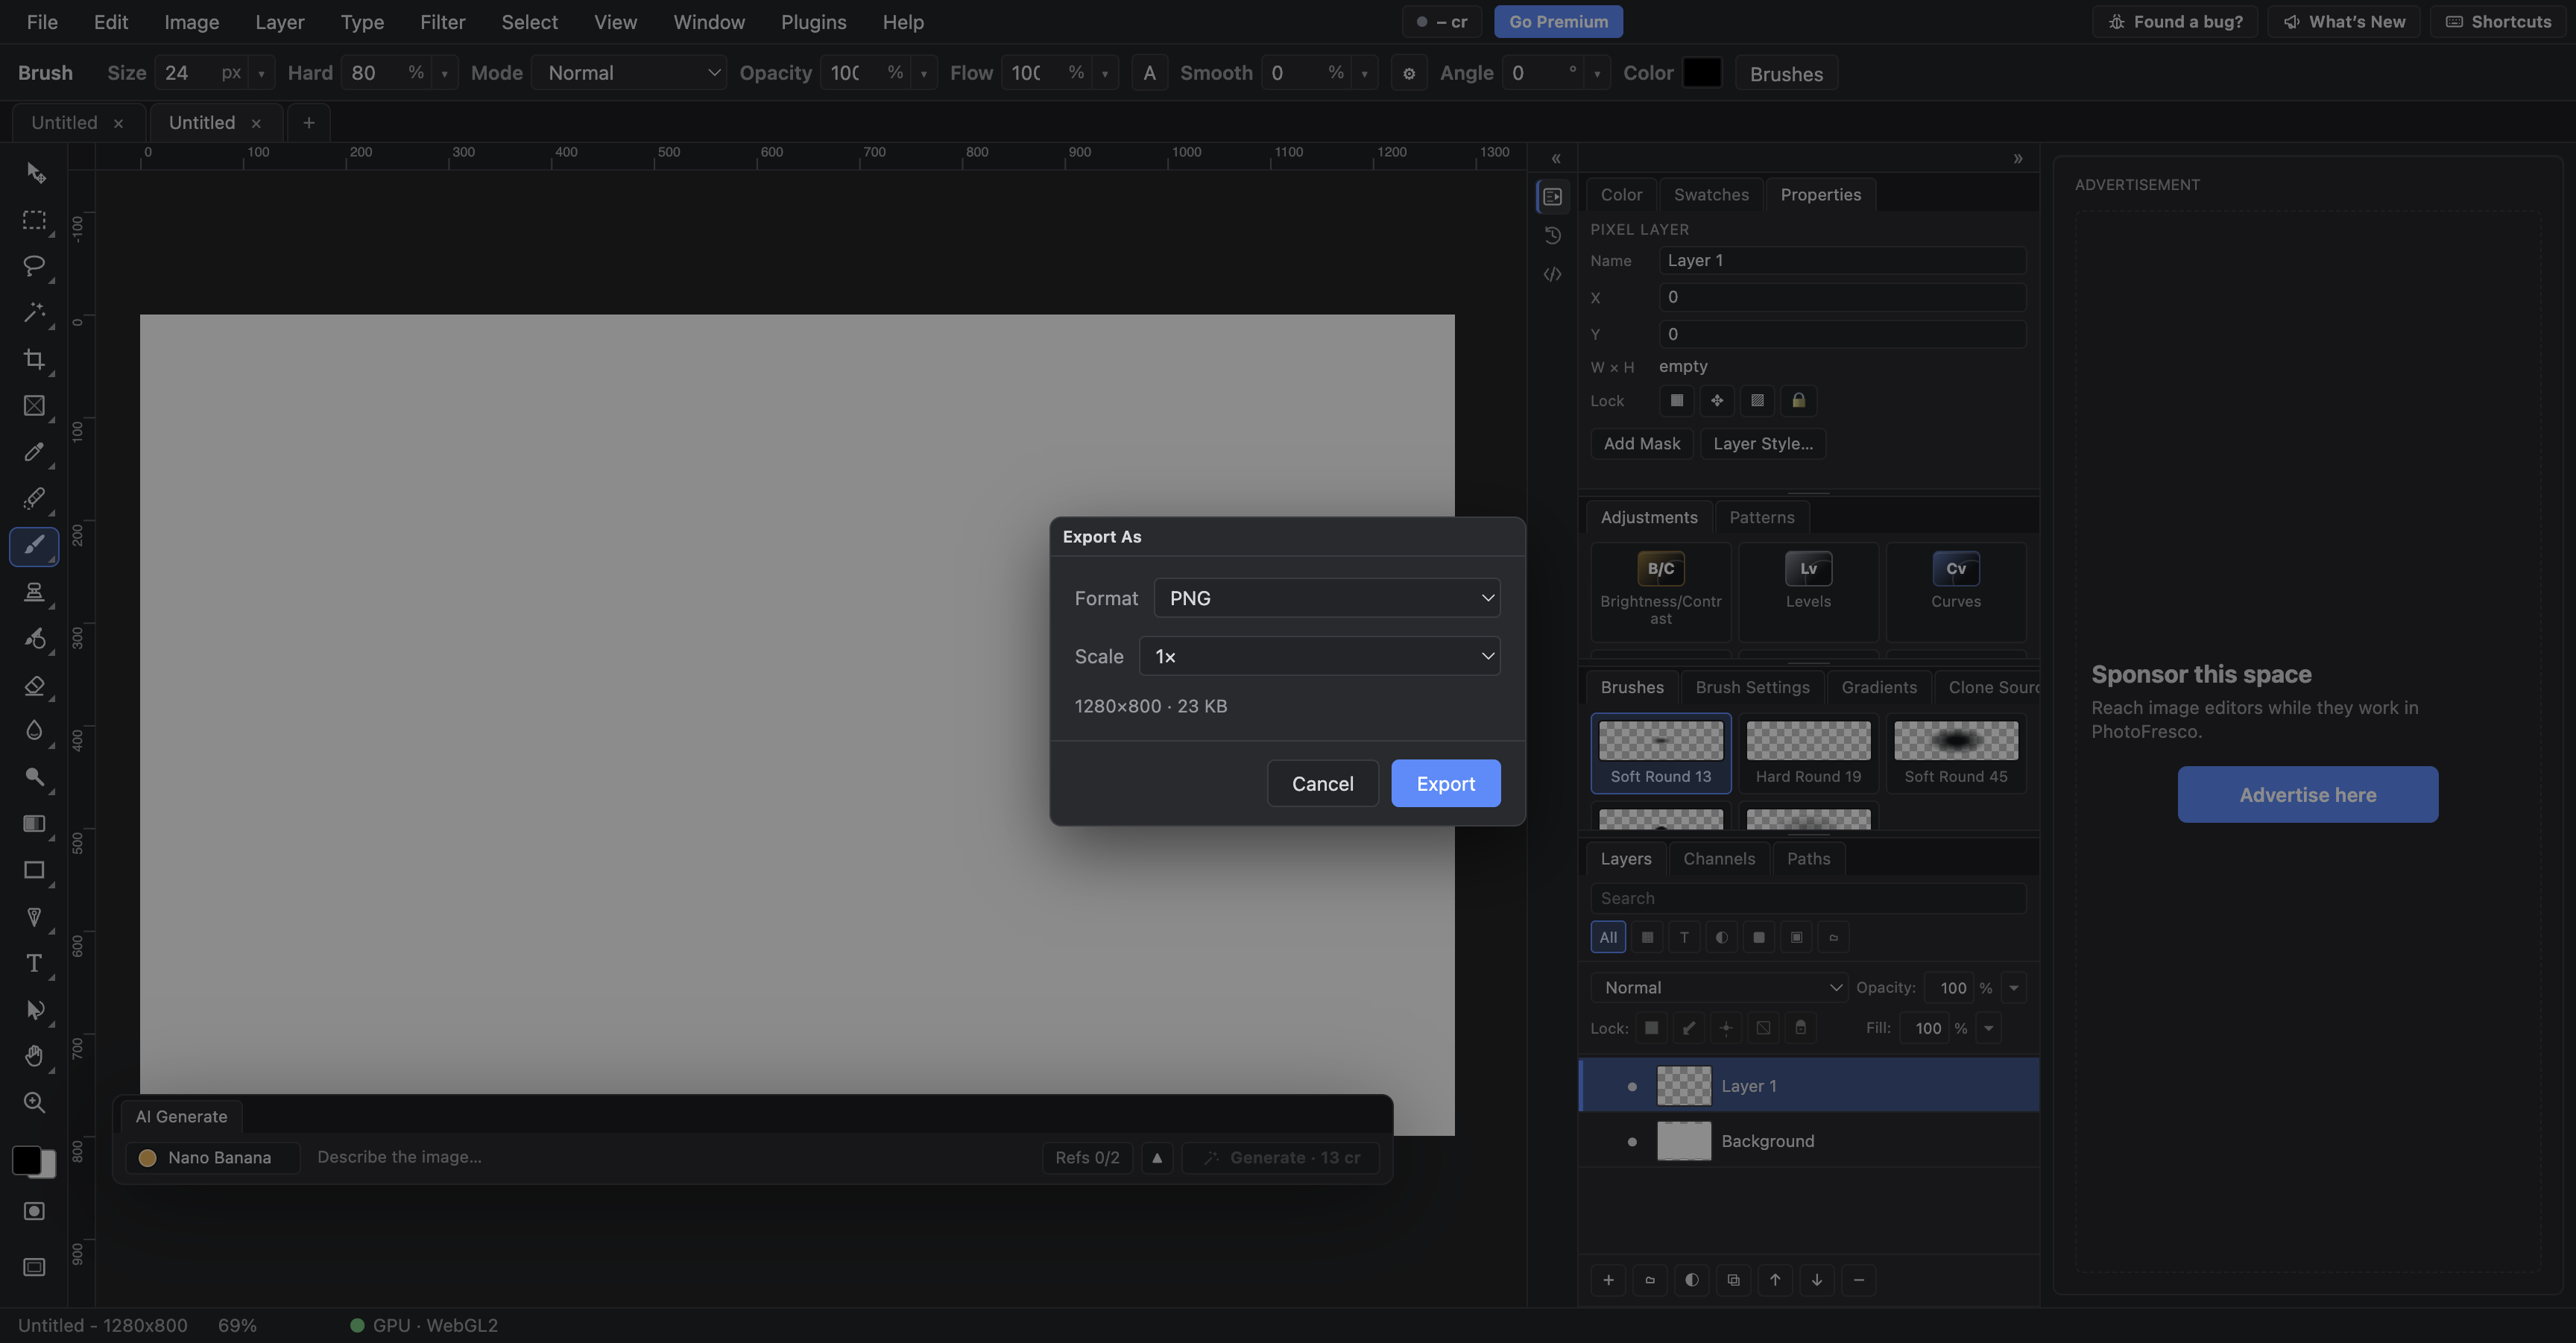
- Save / Save As (
⌘S / Ctrl+S) writes a.psdfile to your machine with layers, masks and styles intact. - File ▸ Export ▸ Export As… produces a flattened PNG, JPEG or WebP — with a quality slider for JPEG/WebP and 0.5×/1×/2× scaling. Quick Export as PNG skips the dialog.
- Save to My Documents keeps a copy in the in-browser library so it's there next visit, even offline.
Unsaved work is autosaved to your own device as you edit — if the tab crashes or closes, the next visit offers to recover your document with pixels, layers and masks intact (and it never left your machine). Undo history doesn't survive a closed tab, though, so
⌘S / Ctrl+Sis still the habit worth keeping.
Where to go next
- Tools reference — every tool group and its options.
- Layers, masks & selections — the core editing model.
- Keyboard shortcuts — including the few chords the browser reserves for itself.
Last updated